Monday, August 27, 2012

The Dead Drift Crayfish

Truckee River Crayfish
(Truckee River crayfish)

A few years back during a random time-wasting YouTube session, I stumbled on Andy Burk's page.  After checking out a few tying videos I came across one about a dead drift crayfish pattern tied by Tim Haddon.  At the time, I had never tried fishing a crayfish pattern dead drifted so I thought I'd give it a whirl and tied up a few.  Last September on the Truckee this pattern proved itself to be a good one for me.  After using it on other rivers, such as the East Walker, it has found a home in my box.  I typically fish this pattern as the top fly on an indicator set up with a smaller bug such as a baetis trailing.  It serves as a great attractor and even if the fish aren't enticed to take the cray it'll get their attention.  Anyway, I'm headed back to the Truckee next week and tied up a small arsenal of these and thought I'd do a tying segment on it.  Here it goes!

(A barely hooked EW brown that fell for a dead drifted crayfish)
Crayfish eating EW Brown

Materials
Hook:  Tiemco 5263 #8
Thread:  Danville black 6/0
Eyes:  Small bead-chain
Weight:  Lead wire .025
Antennae:  Crawfish orange rabbit fur and turkey tail
Flash:  Root beer krystal flash
Claws:  Black-barred crawfish orange rabbit strips
Shell-back:  Mottled thin skin
Rib:  Black wire, size medium
Body:  Blend of burnt orange and olive dubbing
Hackle:  Saddle hackle, ginger color

1.  Wrap the thread back to the point where the barb starts to flare up.
DDC 1

2.  Tie in the bead chain eyes on the top of the hook by cross wrapping them.  Make sure to lay down enough thread wraps to firms lock those eyes into place.
DDC 2

3.  Wrap in about 20 or so turns of lead wire and push it back as close to the eyes as possible.
DDC 3

4.  Coat the thread wraps with some glue (such as Fleximent or Loon Hard Head) and wrap thread over the lead to secure it in place.
DDC 3

5.  Tie in a clump of rabbit fur out the back of the hook.
DDC 4

6.  Next, cut 3 or 4 fibers from a turkey tail off and tie them on one side of the hook shank.  Repeat this for the other side as well.
DDC 5

7.  Then tie in 4 or 5 strands of krystal flash.
DDC 6

8.  Cut out a piece of think skin that is just a little bit wider than the eyes and just a little bit longer than the hook shank.  Taper this piece down and trim it so that it looks like the shape of a coffin.
DDC 7

9.  Tie in the wider end of the piece of thin skin behind the eyes.
DDC 8

10.  Hand blend up a bit of burnt orange and a bit of olive dubbing.  This is a good color scheme for the Truckee River crayfish.  (See the above picture)
DDC 9

11.  Dub the head of the crayfish by cross wrapping it through the eyes.
DDC 10

12.  Cut 2 rabbit strips that are about an inch long.  I like to cut points on the ends of the strips going out the back, but that is just purely aesthetic.  Then tie in a strip on each side of the hook shank.  Make sure to tie them as close to the eyes as possible.  This helps flare the claws out as it drifts in the water.
(Top view)
DDC 11
(Side view)
DDC 12

13.  Wrap the thin skin over the head of the fly and secure it with a few turns of thread.  Then pull it back out of the way.
DDC 13

14.  Tie in about 4 inches of wire for the rib on the side of the hook shank.
DDC 14

15.  Prepare a ginger hackle feather and tie it in at the base of the stem.
DDC 15

16.  Dub a body of the same orange/olive blend.  Gradually taper down the body as you move forward.
DDC 16

17.  Palmer the hackle forward and tie off.
DDC 17

18.  Cut the top fibers of the hackle off so the thin skin has a flat place to lay down.
DDC 18

19.  Pull the thin skin over and tie off.
DDC 19

20.  Counter wrap the wire to secure the thin skin and the hackle
DDC 20

21.  Whip finish and done!
(Top view)
DDC 22
(Side view)
DDC 21

This fly isn't a 1-minute tie but if you tie it right, it is very durable and should last through many fish.  Play with the color combos too.  The original pattern uses more olive colors than the one I tie, but customization is one of the beauties of fly tying.   Tie up a few and add them to your box!

Stay fly,
T


Friday, August 17, 2012

The Lost World of Soft Hackles

Soft Hackle Example 1
Let's face it.....most people fly fish with the bobber nowadays.  It seems that when there's not a hatch, out comes the bobber (with a streamer thrown here and there).  This method is undoubtedly effective and there's good reason why this method dominates.  However, sometimes on certain types of water, this method doesn't seem as effective.  I'm not going to lie, I was a slave to the bobber myself up until this past year, but given my newfound interest in swinging flies, soft hackles were one weapon I could fish with that method.  These flies are profoundly simple and have been around probably just as long as fly fishing, but on today's pressured waters, confidence can be found swinging one.  One of my local watersheds just isn't good nymphing water in my opinion.  The structure of this river doesn't lend itself well to bobber fishing.  Swinging is the way to go here and definitely my favorite style of fishing (maybe even more than the dry fly).  Numbers of fish caught is something people throw around and on certain water types I feel the swung soft hackle will produce more fish.  Oftentimes even in the middle of the day a soft hackle will grab a fish's attention.  There's just something about it that elicits an aggressive reaction and a strong take.  Anyway, here's an example of a simple soft hackle to get started with.

Materials
Hook:  Tiemco 3769
Size: 14
Thread:  Danville 6/0 Tan
Rib:  Gold wire, Brassie size
Body:  Tan UV Ice Dub
Collar:  Hungarian Partridge

1.  Wrap the thread on the hook shank
Soft Hackle 1
2.  Tie in a piece of gold wire to about the bend of the hook.
Soft Hackle 1
3.  Dub the body.  Make sure to taper the body as you wrap forward.
Soft Hackle 3
4.  Rib the dubbing with the gold wire by counter wrapping it (wrap in the opposite direction of the dubbing) and tie off the wire about an eye length back.
Soft Hackle 4
5.  Prepare a hackle for the collar.  To do this, pull off the fluff of the feather and stroke back the hackle fibers from the tip of the feather where you wish to tie it in at.  The hackle fibers should extend farther than the hook bend.
Soft Hackle 5
6.  Tie in the hackle.
Soft Hackle 6
7.  Wrap the hackle collar in and whip finish.  When wrapping the fibers, make sure to stroke the feathers back as you wrap.
Soft Hackle 7

This is just a basic soft hackle.  One can get as creative as they wish with these flies.  Try different methods and materials.  The fish most likely won't care much, but you'll develop confidence in certain patterns.  The one in the tutorial is extremely simple but one of my favorites.  Caddis colors often work well also.  Creativity in these flies can make them fun to tie.  Other good hooks to use are the Tiemco 3761 and the Tiemco 200R.  The 200R resembles an Alec Jackson spey hook to me and has quite an awesome curve.  I've tied some of my favorite steelhead patterns on these hooks for trout and they've worked quite well.  Well, next time your out on the river and having trouble getting into fish, give a soft hackle a try.  You might be surprised!  Plus the bobber can use a break now and then!

(A few examples of traditional steelhead type wet flies tied on 200R's.  These two patterns work great for trout.)
Soft Hackle Example 2
Soft Hackle Example 3

Stay fly,
T

Thursday, August 9, 2012

The New "Go-To" Streamer

Finished Slumpbusters
Everyone knows the tried and true woolly bugger just does work.  That fly gets it done time and time again.  Its simplicity paired with its effectiveness are what makes this fly great.  Another fly that I've come across that could go toe to toe with the ol' bugger is John Barr's slumpbuster.  True to the name, this fly can bring in fish even on a tough day.  Up until recently, the methods I saw to tie this fly didn't exactly sit well with me.  They were either too lengthy or the fly just didn't quite look right to me when it was finished.  In this little walk-through I'll illustrate a few tricks I've used to simplify and quicken this tie.

Materials
Hook:  Tiemco 5263 Size 6
Thread:  Danville 6/0 Olive
Head:  Size medium brass cone head
Body:  Pearl ice dub
Rib:  Olive wire size brassie
Wing:  Olive rabbit strip
Collar:  Olive rabbit strip cut off of the hide and spun in a dubbing loop

1.  Slide cone head on the hook and insert into vise.
Slumpbuster 1

2.  Start thread and tie in about 6 inches of wire underneath the hook.  Advance the thread back to the hook bend continuing to lock in the wire.
Slumpbuster 2

3.  Dub forward a slightly tapered body.  The body should get thicker as you get closer to the cone head.  
Slumpbuster 3

4.  Tie in a rabbit strip behind the cone head securing the front just with thread.
Slumpbuster 4

5.  Then carefully split the hairs of the rabbit strip in the rear by the hook bend and begin weaving the wire through.  Tie off the wire and clip off the excess.  This firmly locks the rabbit strip in place.  In John Barr's original tutorial he ties in the rabbit strip with thread at the rear first, before creating the body.  This can become cumbersome and get in the way during the rest of the tie.  However, I picked up this trick of securing the rabbit later in the tie from Charlie Craven's website and I find it is a much more efficient method.
Slumpbuster 5

6.  This next step is one I've applied to my slumpbusters.  Most just wrap the collar with same piece of rabbit strip or tie in a piece of cross-cut rabbit and use that.  However, with the hide still attached to the hair I've found this creates too much bulk towards the head.  Then it dawned on me to apply a technique I use in many steelhead flies and just cut the hide off and spin the hair in a dubbing loop.  In order to do this, first create a dubbing loop and then place the rabbit strip in the loop.
Slumpbuster 6

7.  Next, cut the hide off of the hairs and then spin the hairs.  This step and can be somewhat tricky at first but will get easier with practice.  If the hairs get kind of clumped up use a brush to straighten them out.
Slumpbuster 7

8.  Then palmer the hairs to form the collar.  After each wrap stroke and hold the hairs back so they don't pinch the previous wraps.
Slumpbuster 8

9.  Tie off the dubbing loop and whip finish.  Then trim the tail to about a shank length long.
Slumpbuster 9

Just like the woolly bugger, this fly can have many variations with color or materials.  To weight the fly a tungsten head can be used and/or with lead wire in the underbody.  Legs or flash could be added as well.  This is just the base pattern, but one can customize it till their heart's content.  As a side note, I like to use rabbit instead of pine squirrel for most sizes.  Although this pattern traditionally calls for pine squirrel strips, I prefer the the thickness and length of the rabbit hair better.  I think it moves better in the water.  For sizes smaller than 8, pine squirrel would be a better option to keep everything proportional.

With this method, I can whip out a batch of these relatively quickly.  They are work horse flies and don't take much time to tie, which is a definite plus.  This fly fishes great when stripped in or swung down and across.  The rabbit hair just moves a ton in the water.  Tie a few up and test them yourself!  You won't be sorry!

Stay fly,
T

Saturday, August 4, 2012

North Umpqua Summer Steelhead

Photobucket
The trip up to the beautiful North Umpqua this past week was something I'll never forget.  This river is by far one of the most amazing rivers I've witnessed and its steelhead runs are of legendary magnitude.  This trip meant a lot for me personally.  For almost a year now, my buddy Rick and I have been constantly practicing our spey casting and making subtle improvements little by little.  Oftentimes, our "practice" sessions wouldn't include fish, but there always was a bigger picture in mind.  Walking a spey rod down to one of our local valley rivers can draw attention too.  I'd be a rich man if I had a dollar for every person that asked what the hell we were doing with such long spey rods down on our local rivers.  Some people are intrigued, and others laugh hysterically.  However, practice does pay off, and it did this week.  For this fish story however, I'll break it down day by day.
Photobucket
Sunday, July 29, 2012
Rick and I started the journey north by meeting a friend of ours, Dennis, in Sacramento.  We piled a weeks worth of gear into Dennis' SUV and took off.  I had driven up north into Oregon many times but  never up to the North Umpqua.  Rick booked a guide named Rich Zellman for Monday, so we met up with him and his dog Bo in Ashland to discuss their plans for the following morning.  After establishing a 3:30am wake up call, we continued up I5 and made a right on the 138 that follows the North Umpqua.  We camped at Susan Creek campground, which I must say is a pretty nice place to spend a week.  I was expecting we be camping in a random spot on a piece of BLM land, so this place was a surprise.  At $14/night and complete with clean bathrooms and free showers, it's a campground I think even the non-camping types would be ok with.  After setting up shop, Rick decided to stay at camp to get ready for his early following morning, but Dennis and I headed out for an evening session.  I was overwhelmingly excited to wet a line on this fabled river and couldn't believe this day was here.  Dennis nabbed the first fish of the trip, a small cuttie, on his first or second cast I think.  We fished this spot through and then headed up to one of the classic spots higher up river.  After swinging through that run, the sun was just about completing down, so I began reeling up my line and BAM!  I had a grab.  Unfotunately, it wasn't the river unicorn I was hoping for, but came off anyways and was probably just a cutthroat.

Monday, July 30, 2012
I awoke to the sound of Rich Zellman's Explorer rolling into our campground right on queue at 3:30am.  In order to get the first crack at some of the more classic spots, one must get there a solid few hours before daybreak.  It can get crowded sometimes.  Anyway, Dennis and I got rolling around 4 that morning.  We cruised around fishing through various spots that morning ultimately not having any grabs.  At lunchtime we met up with Rick and Rich and swapped our morning reports.  Rick didn't get any grabs, but he did however manage to raise a fish on a 
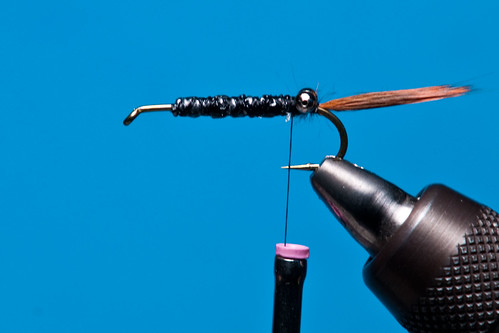
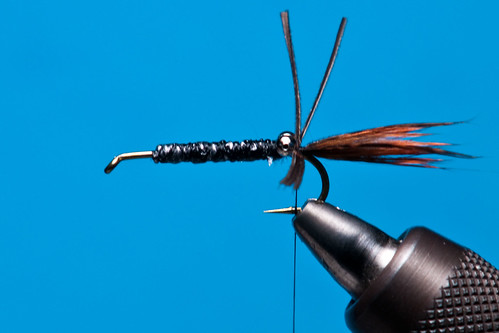
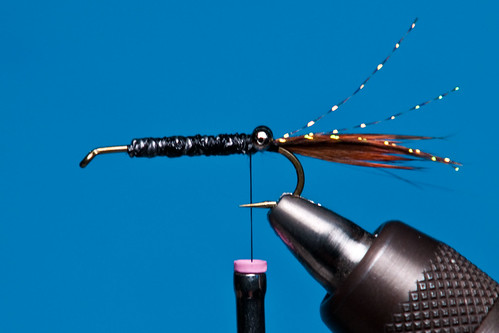
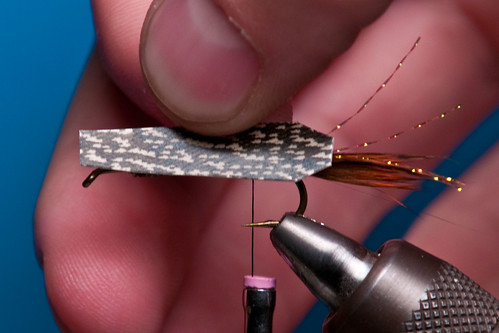
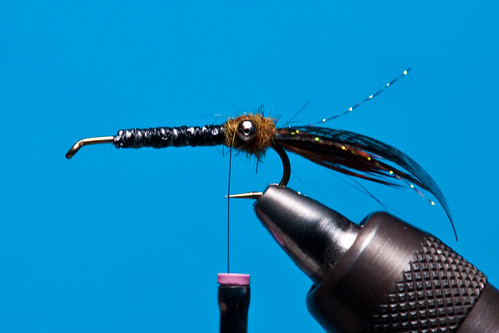
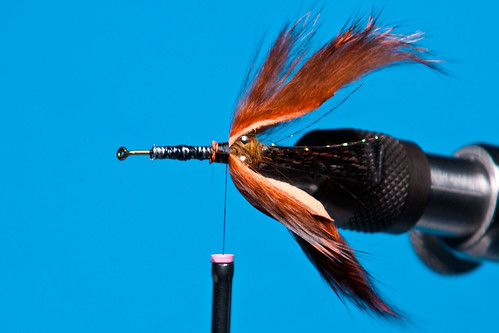
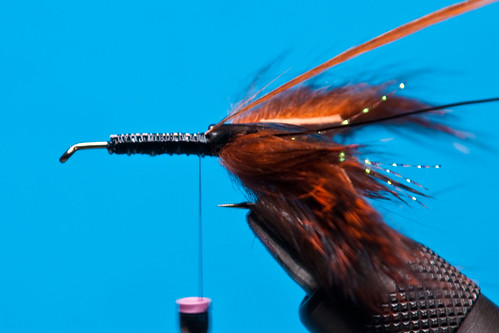
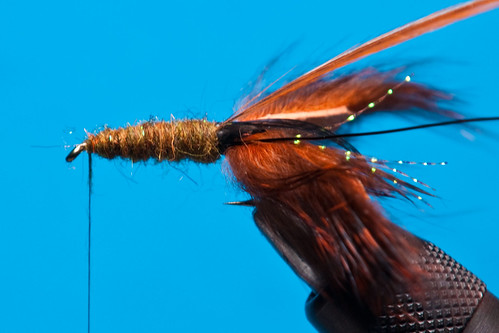
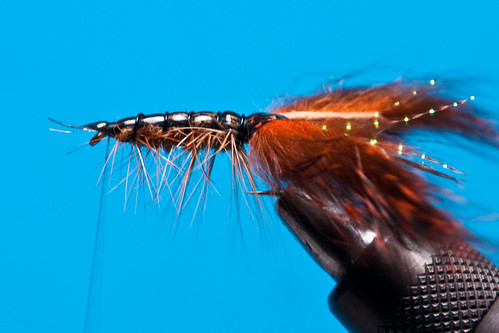
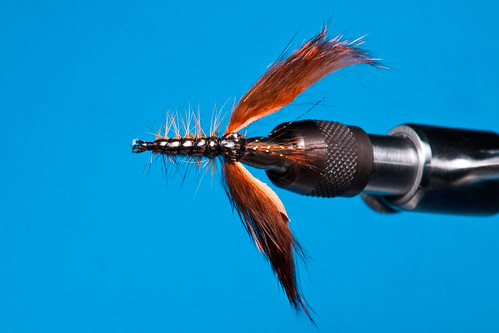
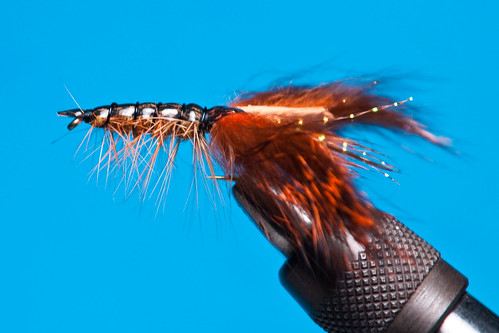
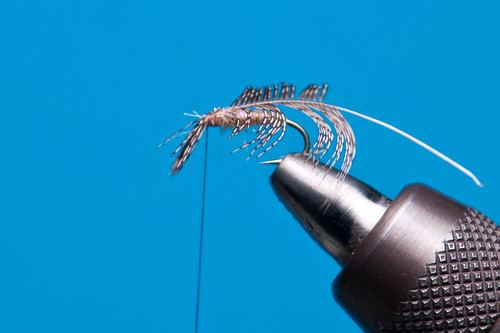
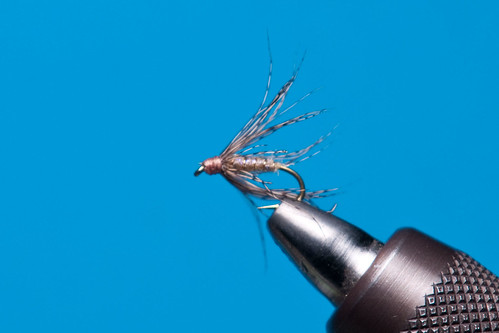
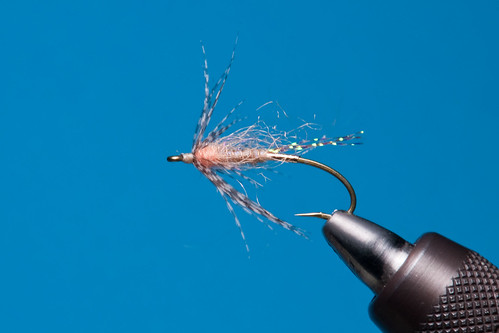
ska-opper.  For those not familiar with this method, let me just say its kind of a big deal.  Chucking a small gurgler style fly and literally popping it across the surface for steelhead would seem like a ludicrous method, but it does work when everything comes together.  Many people fish this method for the chance at getting a steelhead to smack it but it doesn't always happen unless you're a river ace like Rich.  During lunch, Rich said this year he's had pretty good luck getting his clients into dry fly fish.  All in all, he said he had only one or two days getting completely skunked.  The guy just knows that river. Plain and simple.  Book him if you want to learn a lot and possibly get a fish of a lifetime.  Anyway, even just raising a fish is quite an accomplishment, so I know Rick was feeling good about that.  So after a few beers and a nap, it was out again to fish the evening.  Dennis and I were met with a gorgeous night, but no fish once again.  Once we arrived back at camp, Rick and Rich were sitting there sharing a beer and come to find out Rick got his dry fly fish.  An acrobatic fish that checked in at around 6 pounds!  Basking in Rick's success we made some drinks and had a few beers to celebrate.
Photobucket

Tuesday, July 31, 2012
This day didn't bring much for us.  A few cutties were brought to hand but that was pretty much the extent of it.  Right before dark I decided to head down to the riffle right below our campground.  Until this point I had strictly been throwing the sink tip and was trying to get down deep.  One of the old adages in steelheading is "fish a fly that brings you confidence."  That's pretty much the reasoning behind why I continued, run after run, swinging deep.  Because of Rick's success the previous day (and the fact I hadn't felt a grab yet), I finally swapped in the Scandi head and started popping the ska-opper that evening.  Nothing slammed it, but luckily switching at this point was a catalyst for things to come.  That night back at camp we started to plan out our next morning.  That previous Monday, Rick and Rich were unable to get the spot they wanted despite their 3:30am start.  We really wanted to check out that spot, so we decided that a 2:00am wake up time was necessary.  It seems ridiculous for sure, but definitely necessary.

Wednesday, August 1, 2012
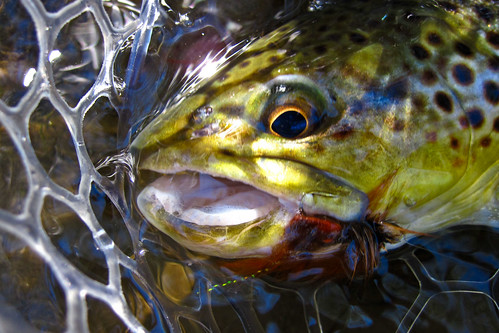
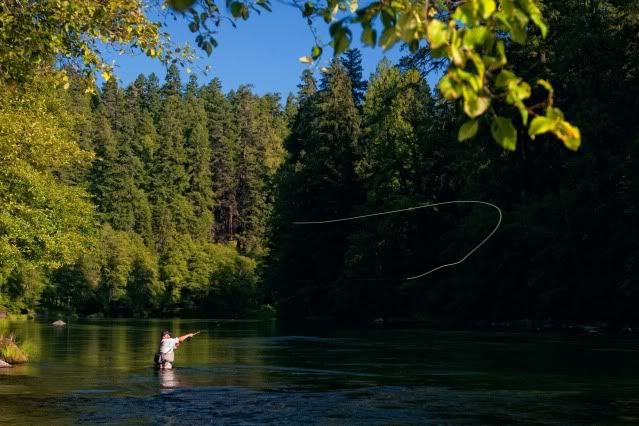
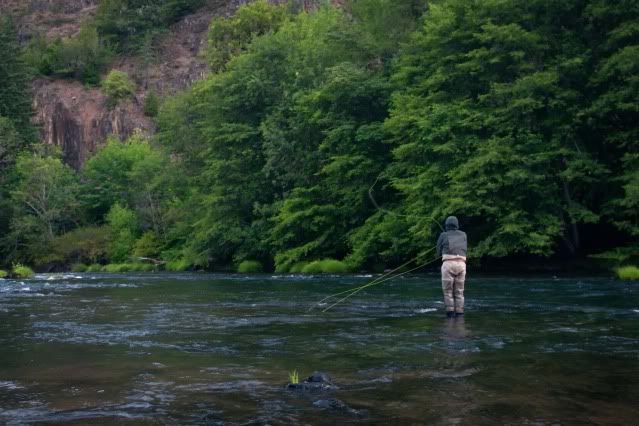
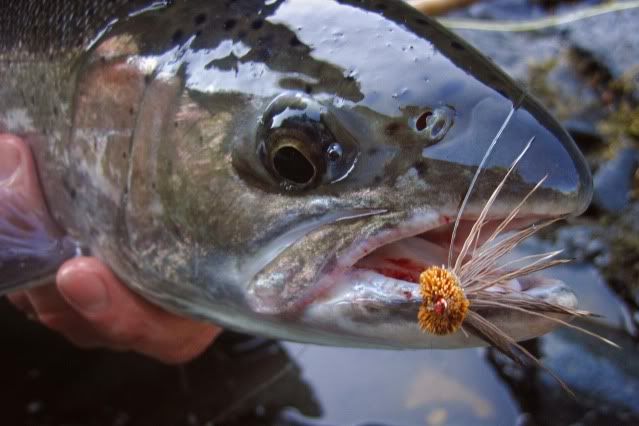
I'm awoken by the sound of my alarm going off.  2:00am.  I started to wonder if this early wake-up was even going to be worth giving up a few more hours of sleep.  We quickly wadered up and headed out.  Luckily when we arrived no one else was parked there yet.  I clicked my headlamp on and started hiking down.  We got to the spot, proceeded to park it and cram a nap in before daybreak.  I leaned up against a tree and tried to sleep a bit, but to no avail.  I checked my watch.  It was just a little bit after 3. Shortly there after, I saw a few more headlamps coming down the trail.  These 3 guys probably thought they were the only crazy ones to get up that early.  I think they were surprised to see us and slightly disappointed to not get that spot.  Anyway, after a few hours there was finally enough glimmers of light on the water to wade out.  I then stripped off some line off my reel and got ready to make my first cast.  This run has a hard outside edge that transitions into softer water with a ledge drop off in between.  I made my first few casts and lengthened out a little farther each time.  Around my seventh or eighth cast, I was popping my ska-opper across and once it traveled into the softer current......WHAM!!!  My reel started screaming and my heart raced faster than ever.  I was able to coax the fish in and Rick managed to tail him for me.  I grabbed ahold of the fish and for a few moments admired his beauty in the water and not fully believing what just happened.  I rose, hooked, and landed a steelhead on a dry fly.  I still shake thinking about it.  That was undoubtedly one of the most amazing moments I've had fishing.  After a few quick pictures, he was back in the water and bolted out like a torpedo.
Photobucket
During our midday break, we decided to go visit a guy by the name of Lee.  Since 1999, Lee camps, studies, and watches a pool where hundreds of steelhead pile up.  These fish are here waiting for the winter storms to bring more water down so they can move up and spawn.  Lee informed us that past this point there is 26 miles of spawning gravel for these fish to do their business in.  Most anglers know that steelhead don't need to eat in the river and their main objective is spawning.
Photobucket
So why does a steelhead take a fly?  That's what Lee is trying to figure out.  He has extensively studied the patterns of these fish and what they approach while they are in the pool.  Ironically, the number 1 item that is approached by steelhead are leaves.  Lee said oftentimes when a fish does rise to a caddis fly or mayfly they'll spit it out after rising to it.  Based on his data, the months when the steelhead are the most active in terms of approaches are September and October.  While we were there we saw quite a few steelhead get airborne and come out of the water!  It was interesting chatting with Lee and take a drive up Steamboat Creek if you're in the area.
Photobucket
For the evening fishing session, we decided to take a hike and get into some new water.  After awhile, I heard Rick screaming downstream from where I was at.  So I rush over there, and sure enough, he had a nice hen on the line!  After landing it we took a few photos and it was on its way.  Rick told me he rose a fish 3 times, changed his fly after each time, and finally got a fish to grab on a muddler swung subsurface.  Quite an effort on his part!
Photobucket
Photobucket

Thursday, August 2, 2012
Unfortunately this day marked our last day.  We managed to sneak in a quick morning session before heading out although.  I nabbed by biggest cuttie of the trip but no steel was found.  The whole time on our 8 hour car ride back I wished we had another week.  The more we fished the more I learned.  I have to say, despite my original belief that the sunk fly was going to get it done, I was proved wrong.  These fish are grabby.  If the presentation is good, and the steelhead are there, the dry fly popper will get it done.  I can't wait to go back and am itchy to plan another trip soon.  Nothing quite can describe the North Umpqua perfectly, so just go there and feel it.

Stay Fly,
T