
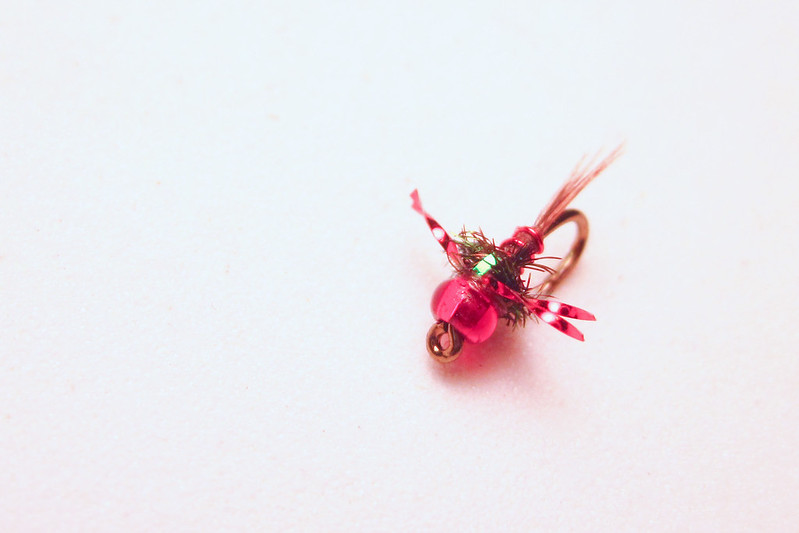
It's been awhile since I've done just a photo tying segment, so I thought I'd share another one. Hogan Brown's Red Headed Step Child is a pattern I recently started tying and let's just say the first drift I made with it got a fish. Not designed to really resemble anything, this fly is a great attractor pattern and works simply on the premise that it is different. It's a good pattern to tie on when the ol' PT isn't getting the job done. I prefer the smaller ones (#16's/#18's) and think if you add only a few to your box those sizes are the ticket. Anyway, here it goes!
Materials:
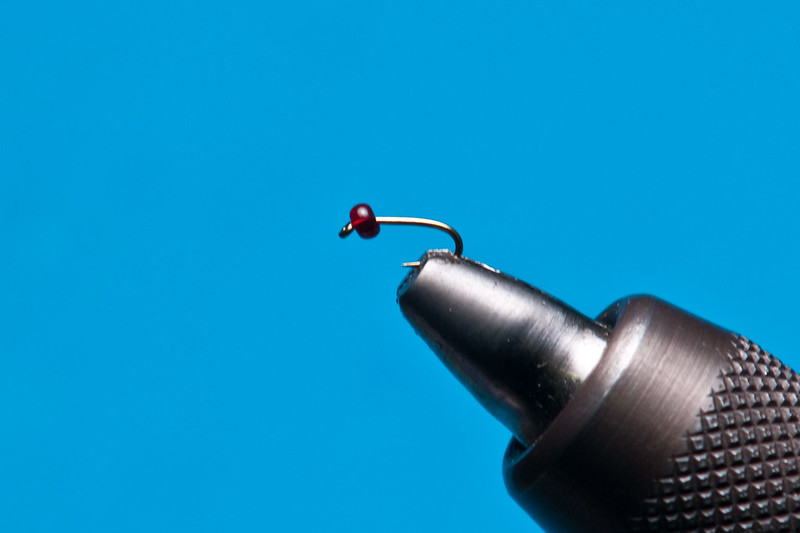
Hook: TMC 3769 (Size of choice, the one in the example is an #18)
Thread: 8/0 Brown
Head: Czech Glass Bead (11/0 Red Seed bead Silver Lined) (These can be found at craft stores for super cheap and in high quantities)
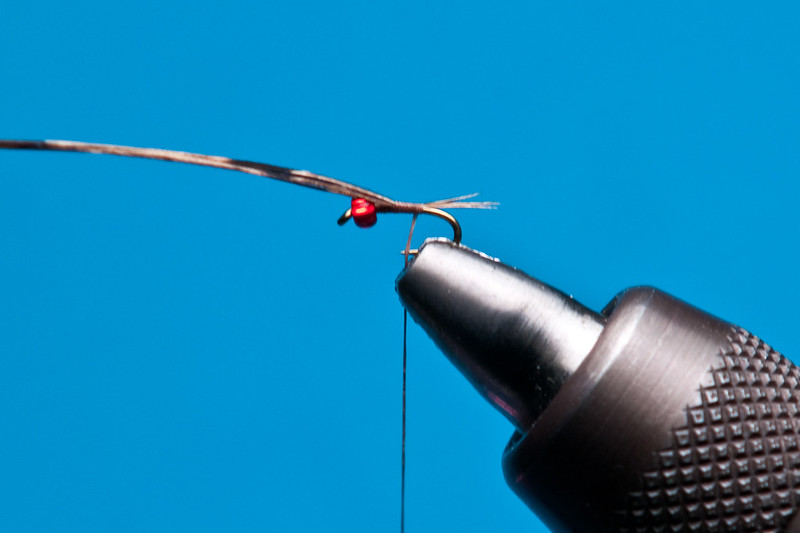
Tail: 4/5 PT fibers
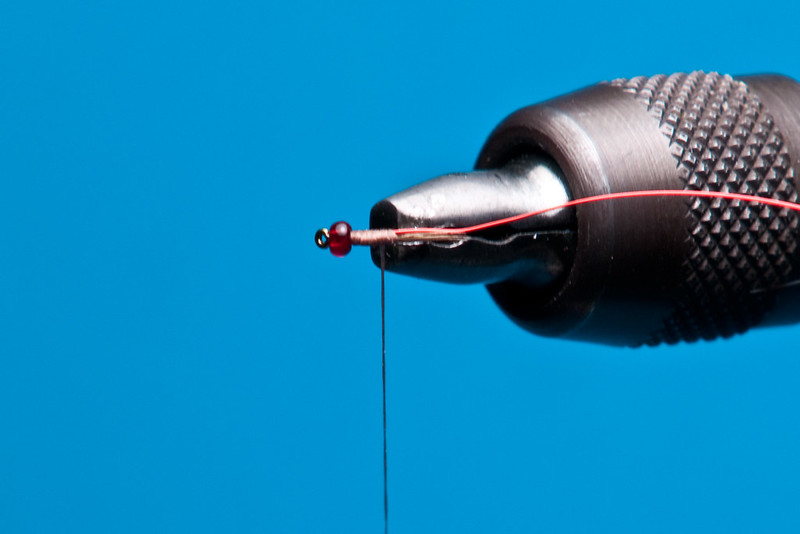
Rib: Red Wire, Small
Thorax: Peacock Herl
Wing Case: Pearlescent Flat Tinsel
Legs: Red Krystal Flash
Finish: Clear Cure Goo Hydro
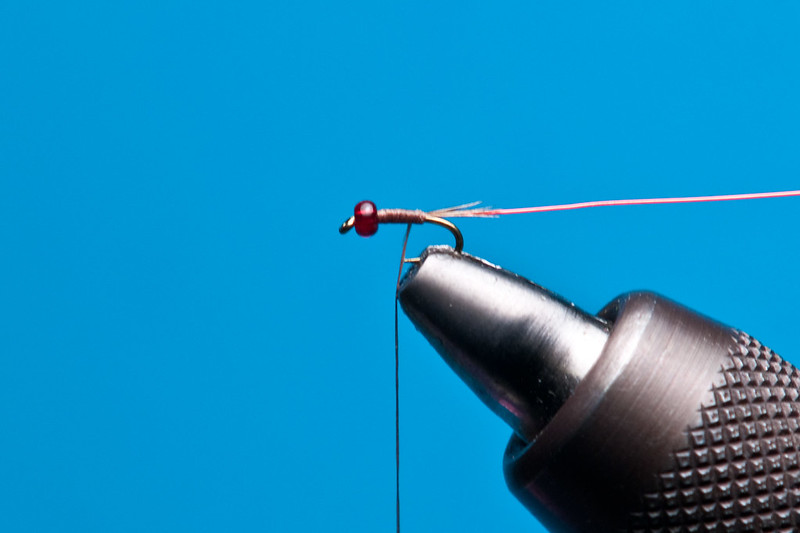
1. Insert hook w/ bead into the vise and tie in the PT fibers. The fibers should extend about 1/2 shank length.
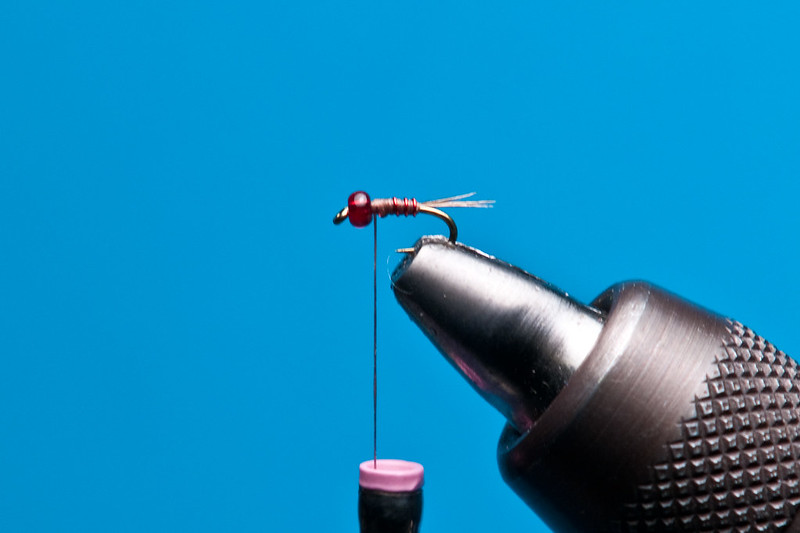
2. Tie in the wire rib on the far side of the hook.
3. Advance the wire rib forward. On a #18, 3 wraps is sufficient to maintain the right proportion.
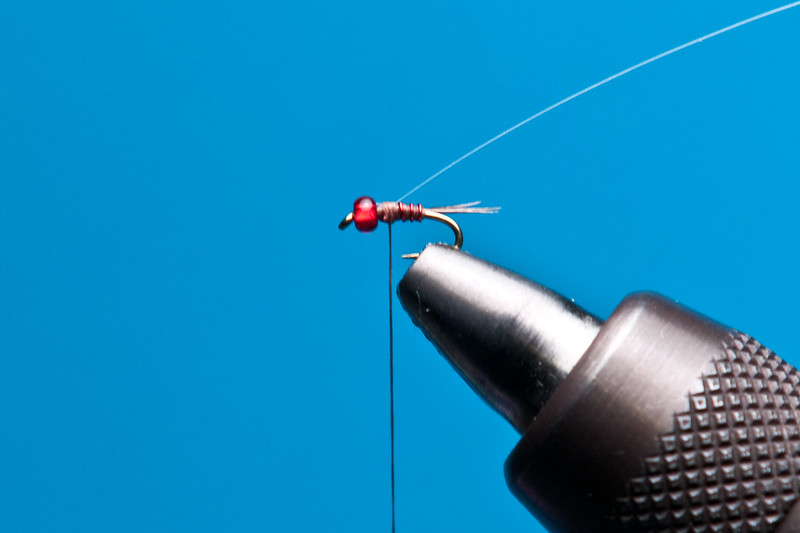
4. Tie in the pearl tinsel directly on top of the shank.
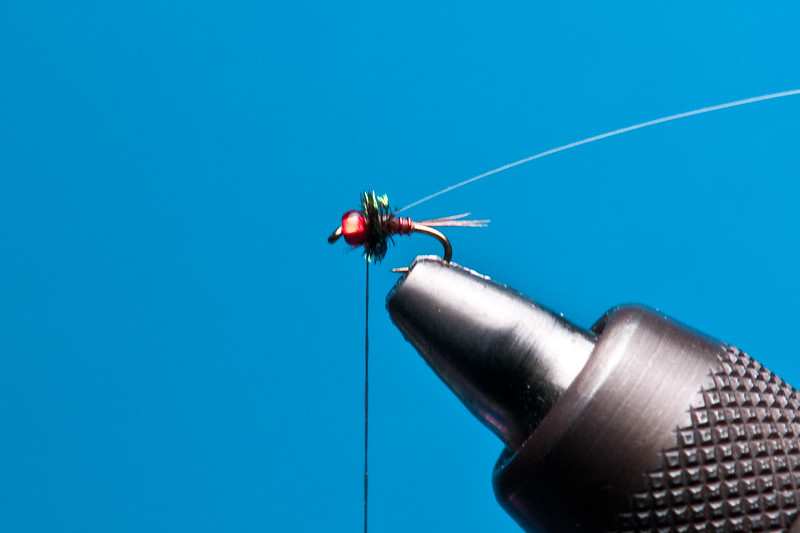
5. Tie in the peacock herl and wrap forward to create the thorax. (One bushy herl is enough for a #18)
6. Using the figure 8 method, tie in two strands of krystal flash. (With a smaller fly, try and minimize thread wraps from here on out in order to not crowd the head)

7. Pull over the pearl tinsel, tie it off, and whip finish.
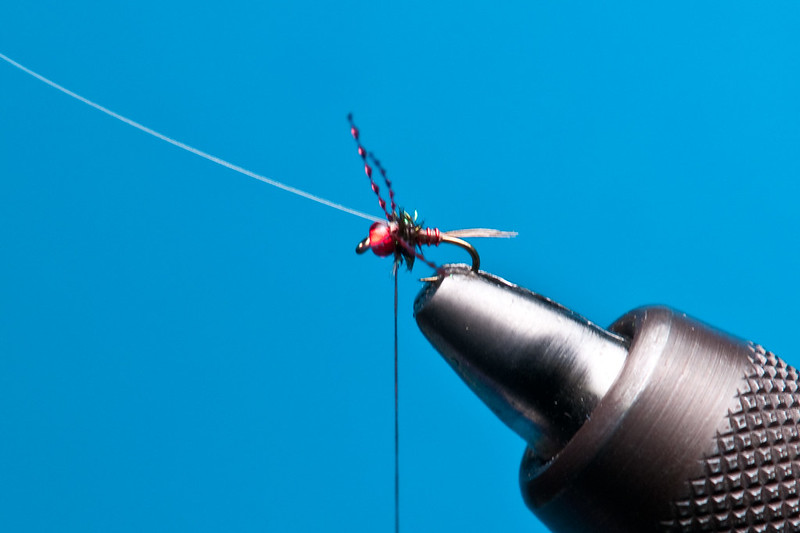
8. Trim off the pearl tinsel and krystal flash legs. And you're done! (The legs should extend just about to the beginning of the hook bend)
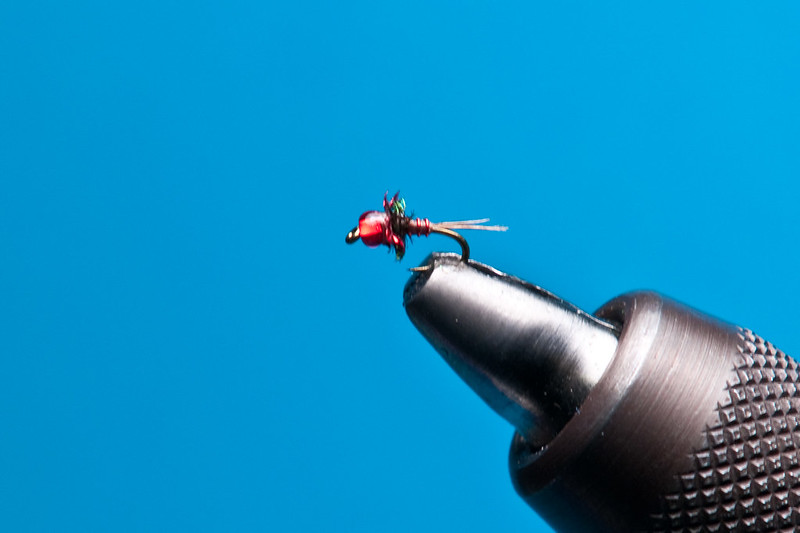
This is a great little pattern and I've started to incorporate some things from it to other patterns. I'm hoping to share a few of those tweaks in the near future!
Stay fly,
T
No comments:
Post a Comment